Envira Gallery Blog
Digital Photography Tips, Tutorials and Resources
Digital Photography Tips, Tutorials and Resources

by Waseem Abbas on Oct 6, 2016
Do you want to sort the photos in your image galleries? Sometimes you want to filter your images by title, filename, published date, etc. In this article, we will share how to sort images in WordPress galleries.
By default, WordPress does not allow you to sort images in galleries. However, you can sort your gallery images using Envira Gallery plugin. Lots of different filtering options are available in one simple dropdown menu, so it’s quick and easy to arrange your photos.
To sort images in WordPress galleries, you’ll need to follow these 4 steps:
Ready to get started? Let’s go!
To begin with this tutorial, you need to install and activate Envira Gallery WordPress plugin.
If you need help with the installation, check out our guide on how to install Envira Gallery.
Upon activating the plugin, you can go to Envira Gallery » Add New to add a new image gallery in WordPress.
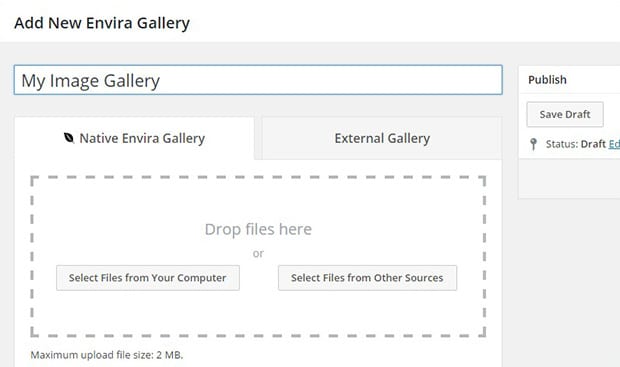
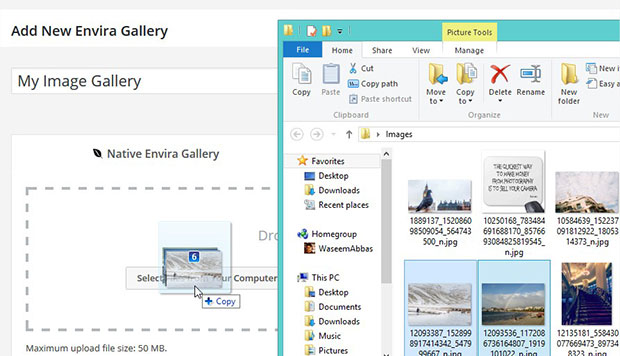
Go ahead and add your images into the Native Envira Gallery section. (We’ll sort these photos in the next step.)
After adding your images, you’ll need to hit the Publish button to save your changes. Copy the shortcode to your clipboard from the Envira Gallery Code widget– we’ll use this code to display our image gallery.
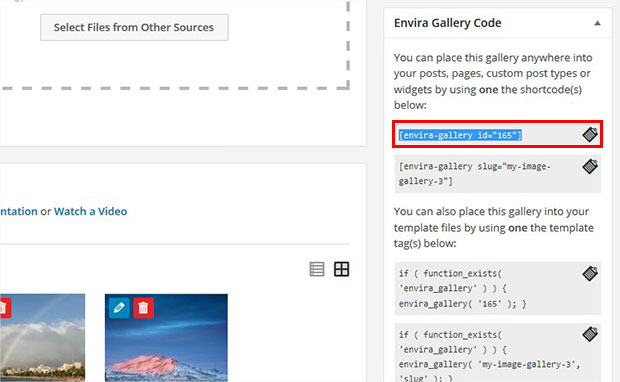
For more help with this step, check out our guide on how to create an image gallery with thumbnails in WordPress.
Next, it’s time to sort our images. After creating your new image gallery, go to the Config tab. In the Sorting dropdown, you can choose any one filter to sort your images. The options include random, published date, filename, title, caption, alt, and URL.
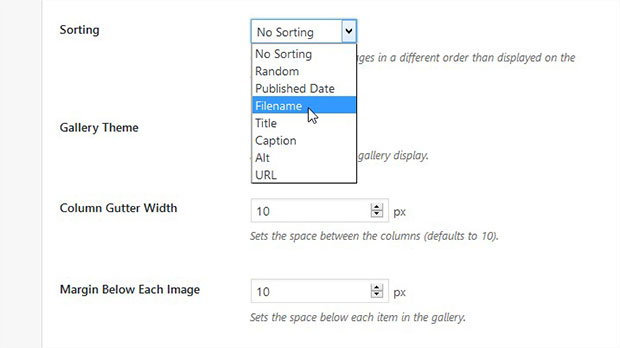
(I chose Filename, so my images will be sorted alphabetically by their filename.)
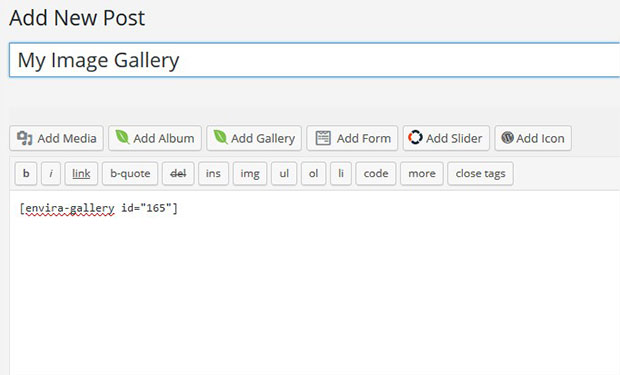
To add your sorted image gallery to a post or page, you can go to Posts/Pages » Add New or edit an existing post.
Now, simply paste the shortcode that you copied in the previous step into the visual editor. Make sure to hit the Update button to save your changes.
That’s it! Now your sorted image gallery is live on your website.
We hope this article has helped you to learn how to sort images in WordPress galleries. You may also want to check out our guide on how to add pagination in WordPress image galleries.
If you like this article, then please follow us on Facebook and Twitter for more free WordPress tutorials.
Envira Gallery helps photographers create beautiful photo and video galleries in just a few clicks so that they can showcase and sell their work.


Does the “Lite” version not support this? Can’t find it anywhere!!
Hey Casey, this option can be opened with Envira Basic plan. The Basic plan will also give you tons of other editing options for your image galleries, and a few addons too. 🙂
I am using Envira Gallery v1.8.5.6 and the Sorting option is missing from the Configuration tab. Is it still possible to sort in v1.8.5.6?
Does this enable sorting of woocommerce product images?
I also do not have a dropdown for sorting…
Above Gutter Width and Gallery Theme I have Crop Position then size/dimensions. I have the 2nd to highest paid plan too, so I should certainly have this option. Is “Sorting” turned off if something else is turned on? Why would the only other comments on here also state that they don’t have Sorting either?
Hi Abby, you can manually sort your gallery images by clicking and dragging the thumbnails in the Gallery tab, above Configuration. For more information, please see our updated guide on sorting your gallery images with Envira Gallery.