Envira Gallery Blog
Digital Photography Tips, Tutorials and Resources
Digital Photography Tips, Tutorials and Resources
by Alec Druggan on Aug 13, 2020
There are now tons of different image editor applications out there to choose from, each with its own specialties and functionalities. So how do you know which is right for you? What is the best photo editing software for beginners?
In this guide, we’ll explore the different photo editor options you have as a beginner photo editor. Then, depending on your editing goals, we’ll show you some software that can help you maximize your editing goals.
But, as a new photo editor, don’t be afraid to try everything. If you see a photo with a cool effect, hit the internet to find a tutorial that will help you mimic it. As you mimic and adapt more techniques to your own creative style, you’ll become a much more impressive photo editor. Like any other skill, photo editing takes practice!
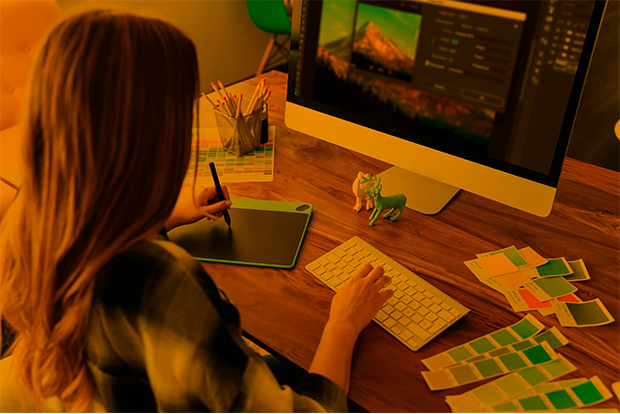
As you may know, the best photo editing software for you depends on the kinds of edits you want to achieve. Are you a graphic designer looking to turn photos into advertisements with text? Maybe you only need to make simple photo adjustments. Whatever the case, we can help you find your perfect photo editor.
Here is what we’ll cover in this guide to the best photo editing software for beginners:
Let’s start by learning how you can use different types of photo editing software to enhance your images in various ways:
Photo editing software comes in all shapes and sizes — in a multitude of different categories. Primarily, we divide photo editing software into three categories: organizational, non-destructive and destructive. How are these categories different?
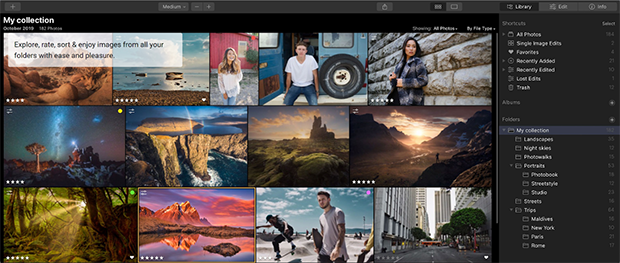
Organizational photo editing software is any piece of software that allows you to organize the files themselves. Some editors have built-in file organization, like Adobe Lightroom, but other applications only organize files. For example, Photo Mechanic 6 exists solely to help you organize, manage and export your photos.
If you already know that you like working with Adobe products, you could try Adobe Bridge. This free file organizer works best in conjunction with other Adobe programs, although it is compatible with other photo editing programs, too.
Another class of photo editors — non-destructive photo editors — apply edits to your pictures while also allowing you to revert back to the original image file. That is to say, a non-destructive photo editor doesn’t permanently alter your photo file.
Industry standard applications like Adobe Lightroom and Phase One’s Capture One are both non-destructive photo editors. These programs allow you to make more basic edits and apply them to batches of images.
These photo editors also allow you to organize images, which isn’t the case with more involved photo editing programs. Working with one of these software is a great way to have all your digital photography in one place, from import to export.
The last type of photo editing software is the destructive and layer-based photo editing application. Professional photo editors use these programs to achieve the highest and most complex editing results. Of course, Adobe Photoshop finds itself in this category.
Though you may only recognize Adobe’s editing programs by name if you’re a photo editing beginner, so many other software exist in today’s market. You don’t have to use the most complex and most powerful programs if you’re editing tasks don’t require them. You may find that cheaper, more pared-down options work perfectly for your purposes.
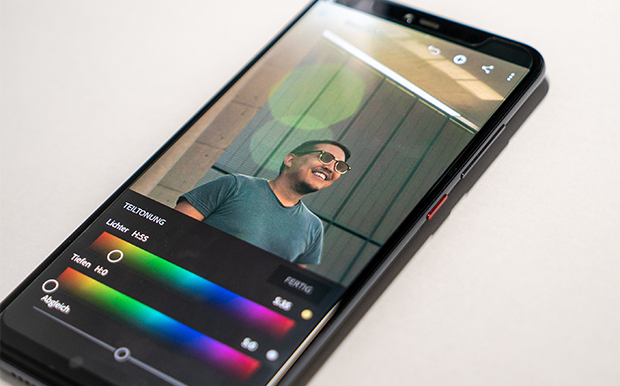
Believe it or not, you can even achieve complex photo edits from your smartphone. Many desktop photo editors offer mobile editing apps for either your mobile phone or tablet. Some of these programs are exceptionally powerful, although many of them are tailored to work specifically on photos taken with a phone instead of a DSLR camera.
Recently, Adobe released both a Photoshop app and a Lightroom app, which has a lot of photographers switching over iPad or iPad Pro editing. Because so much of today’s photo publishing happens digitally for online publications, photos don’t need to have super high resolutions. That means the editing apps don’t need to be quite as powerful, which is perfect for an app.
Outside of Adobe, there are other options. Snapseed, made by Google, is a great option for beginners because of its usability. Simple swipe gestures allow you to control the programs’ editing parameters, which makes editing on the go a breeze.
Outside of these two options, you might also consider Affinity Photo. Affinity managed to get on the marketplace before Adobe, and it is a great high-level, destructive photo editor. In fact, it shares a lot of similarities with Adobe Photoshop. If mobile editing is important to you, you might benefit from trying both applications.
Of course, you should know ahead of time that many editing apps require in-app purchases to complete more detailed edits. While these in-app purchases can add up, they are still likely to cost significantly less overall than the total price of a desktop editing software. So, you’ll have to weigh the pros and cons of in-app purchases against your budget restraints before you choose an editing app.
So, with so many options, how do you know what photo editing software you need to complete your work? Keep reading!
Learning how to edit your photos is ultimately more important than deciding which software to use. Chances are, if you plan on developing your photography long-term, you’ll outlast various photo editing programs. Plus, once you choose a photo editor, knowing how to maximize its capabilities will give you better results.
How can you best learn how to edit images?

More than anything, you need to practice editing with your chosen photo editor. Otherwise, you simply won’t know the best workflows or the program’s true capabilities. When you first start working with your photo editing software, focus on learning and practicing with these components:
Obviously, you’ll need to learn the basics first to build a solid, foundational knowledge of the program and what you can do with it. Here, you’ll need to experiment with things like exposure, vibrancy, contrast and more. Other adjustments like color temperature are also important.
Once you’ve gotten ahold of the basics, start learning how to complete those basic adjustments more efficiently. Especially when you’re starting out, you’ll want to edit a lot of images, and you’ll want to speed up how fast you can do it. Keyboard shortcuts and workflow efficiency are super important, both for your editing now and long-term.
Think about it like this: If you can shave 5 seconds off an action, that’s not a lot of time. But if every time you take a common action in your photo editing software it’s 5 seconds faster, you’ve saved a ton of time. That’s what keyboard shortcuts do.
Using those keyboard shortcuts, figure out how to achieve some of the basic styles you like. I find that, by creating some basic presets in programs like Adobe Lightroom and Skylum Luminar, I can create a quick base editing that I can then fine-tune with more detail. Try this method by making some presets or actions, then start applying them to your photos.

Online tutorials are a great — and generally free — resource for learning photo editing software. Depending on your learning style, you might find that you prefer video tutorials or written tutorials, but try both at the start.
The most important thing when finding an online tutorial is to find one geared toward photo editors at your level. So many online tutorials will assume that you already have a base of photo editing knowledge, although that may not be the case! If you’re a complete beginner, find a source that speaks to complete beginners.
You’ll want to find tutorials that explain each and every step, along with the jargon of your specific editing program. Of course, these will be easier to find the more popular your program is. That’s why you’ll want to take your skill level and a program’s popularity into account when deciding which software to work with.
Many software have their own tutorials, which are successful to varying degrees. Again, some of these software sites assume a base knowledge that you may not have. In those cases, third-party blogs like this one will be your best bet for reliable and digestible information.
The best photo editor for you will depend, of course, on the types of edits you normally make and the kinds of photos you take. If you don’t have a specific area of photography that you specialize in, stick with the simplest programs that have the option to expand their capabilities down the road.
Deciding what genre of photography you want to work in isn’t something you have to figure out immediately. You might jump around and try all sorts of things before you settle on something.
If you want to start editing now, however, you will be much better prepared for the editing process if you stick with one genre for now. Photos within the same genre typically have the same editing needs, so it’ll make the learning process a bit easier.
Once you have gotten comfortable working with whichever two programs, I would invest some more time figuring out what programs people use to edit images in the genre you work in. For instance, professional real estate photography might require more Photoshop work, while event photography might benefit more from batch processing.
Depending on what software you begin with, you may find that you need to upgrade down the line as your skills — and demands — increase. Once you hone in on your most common editing challenges, you’ll be able to make the best decision regarding which photo editing software will benefit you the most.
That being said, there are a couple other things to look out for. Use programs that do not reduce image quality. Some programs might resize the image and produce a final image with a lower resolution than your original photo.
Also, pay attention to the file type options a given photo editor supports. Some programs use their own file types, which isn’t always a bad thing. But, make sure that the files are reliable and that you won’t lose you work. Always save additional copies of your RAWs, TIFFs and JPEGs.
Some programs are more selective in the file types they accept, while others like Photopea support almost every file format. This means that, across cameras and their different file formats, Photopea will likely take all of them.
When considering file type support, pay special attention to whether the program you’re interested in accepts RAW images from your camera. Shooting in RAW is always better than shooting in JPEG, but some photo editors aren’t capable of handling RAW files. While this may not be a deal-breaker for you, it’s something to consider.

Choosing the right photo editing software for you is all about finding a workflow you like. The first thing I encourage you to do when designing your workflow is to establish a good file organization system for you images.
You want to store your images in a variety of places so that you always have backups, but you also want to have them centrally-organized in a photo organizing program. For me, that means using Lightroom to back up to a cloud-based server and a physical server on my computer. It is incredibly important that your files are redundantly stored, and choosing an application that makes it easy is a great first step to file safety.
Once you have figured out your organizational structure, decide what general processes your images will undergo. Will something as simple as Camera RAW get the job done to let you correct exposure and focus issues? Or, do you need more advanced editing tools? Do you prefer spending time with each image, fiddling with details and striving for perfection?
Either way, figure out which program you’ll work with the most, and invest your time into learning how that program works. The program that best suits your needs might even be available for free! You’ll be much better equipped having learned the ins and outs of a free software than someone who paid for software but hasn’t practiced.
Lastly, consider upgrading to paid versions of your favorite programs if you settle on photography as a long-term hobby or profession. As a photographer, you won’t want your tools to restrict your work in any way. Adobe’s prices for Lightroom and Photoshop are steep to some, but paying for slightly better software is worth it if you plan to pursue photography seriously. And again, there are alternatives to those high-end products that may work just as well for your purposes, like Skyum Luminar.
Additionally, paid software often comes with tutorials for the programs and guides on specific processes. Look online for communities that will help you with specific pieces of software!
Now that you have some tools to make the right software decision for you, here are some ideas about the best photo editing software for beginners:
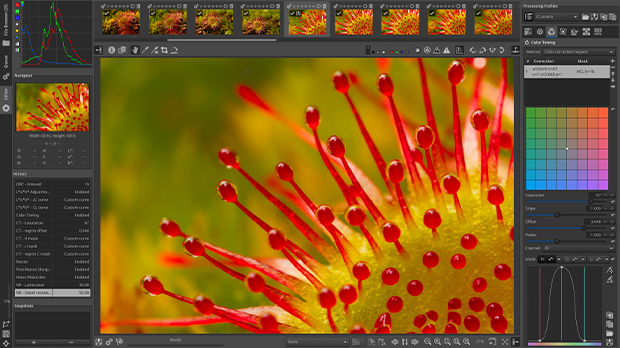
Skylum’s Luminar 4 is the newest version of Skylum Luminar. Skylum improved on Luminar 3 by adding new features including new filters and a cleaner, redesigned interface. These updates severely cut down your workload by making tasks simpler to complete. For example, you can now achieve skin adjustments in your portraits in seconds.
Luminar 4 is both an Image Organizer and a non-destructive editor. This means that you can do most of your organizing and quick edits in Luminar without having to switch back and forth between different programs.
Furthermore, beginners tend to find Luminar 4 more intuitive than some other photo editing software with more features, like Adobe Photoshop or Adobe Lightroom. In Luminar, each of the different editing tabs have an icon that plainly explains what they control.
You’ll also find a great deal of online tutorials for Luminar 4, even though this updated version is fairly new to the market. That’s because Skylum sent Luminar 4 early to content creators, who were able to time their tutorial releases with the software’s wide release.
Since its release, even more photo editors have picked up the software and made content. If you’re the type of person that likes working alongside a tutorial, Luminar 4 can be a great choice!
You’ll also like Luminar 4 if you have lots of images to edit. With Luminar 4, batch processing is a simple and easy task. Batch processing works best on images taken during the same shoot which require the same adjustments. Simply apply your affect or Luminar preset to one image and use batch processing to adjust the rest!
Another plus in Luminar’s column for beginners: it’s price tag. You can purchase Luminar for a relatively low one-time fee. That gets you the program license for two devices, which can be used as a standalone product or a plugin for another photo editor. And, if you purchase now, Luminar is also throwing in access to their “Inspiration Looks,” or preset photo editing styles.
Although you may feel intimidated by Photoshop as a new photo editor, it’s still one of the best photo editing software for beginners to learn. Adobe Photoshop is a layer-based editing program, which can take some time to get used to, but it’s worth the effort.
In photo editing, layers allow you to build up your edits over time and apply them selectively to only the parts of your images that need adjusting. Of course, that means Photoshop’s layers, filters, effects and other tools break your photo editing world wide open. In fact, there’s not an effect you can’t achieve with Photoshop.
And, while it has a steep learning curve, Photoshop is a tried and true photo editor. Remember, it’s the industry standard, which means professional photographers use this program the most. Regardless of what photo effect you want to try, you can find a tutorial online about how to accomplish it with Photoshop.
Photoshop — and all Adobe products, for that matter — are available both as a one-time purchase and as a subscription through Adobe’s Creative Cloud Plan. This plan, only $9.99/month, gives you access to Photoshop and two versions of Lightroom.
And, because both Photoshop and Lightroom are Adobe products, they play very well together. As a team, they let you organize your photos and make quick, easy edits while providing you with the tools to experiment with more complicated effects in the future.
Of course, if paying for a photo editing software just isn’t in the budget, don’t worry. Several developers offer free photo editing software online, like these below:
Like Photopea, RawTherapee is a free non-destructive, open-source software designed to process your raw images across platforms. With RawTherapee, you can edit photos from any digital camera or smartphone in a program specifically designed for beginners!
You can make all your basic photo adjustments in RawTherapee, as well as complete more complicated edits including color corrections and spot treatments. And, much like Lightroom, RawTherapee displays your editing history in a sidebar menu, which makes it super simple to track your changes.
RawTherapee also has its own forum where users can ask and answer questions. This built-in community makes it so simple to get in contact with photo editing pros who know how to achieve the effects you’re struggling with. As a beginner photo editor, having access to that kind of network is an invaluable opportunity.
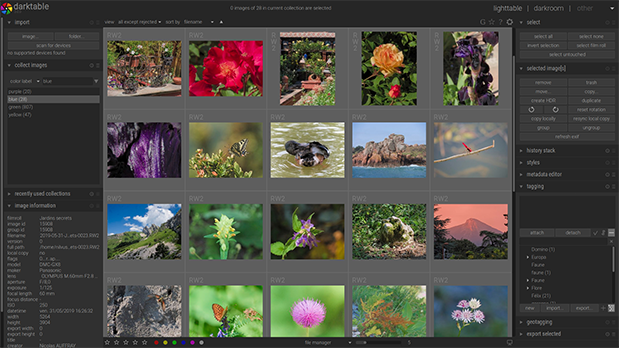
Created by photographers, darktable is a workflow software and raw developer that functions as a non-destructive lighttable and darkroom for your photos. It offers professional color management, cross-platform integration, image organization and a host of specialty features including:
For beginner photographers who only want to learn one program, darktable is a serious contender. Like Lightroom, it is both a photo editor and an image organizer. And, throughout the organizing and editing process, darktable preserves your original images!
darktable also even offers their own online user manual to help you get started learning the user interface.
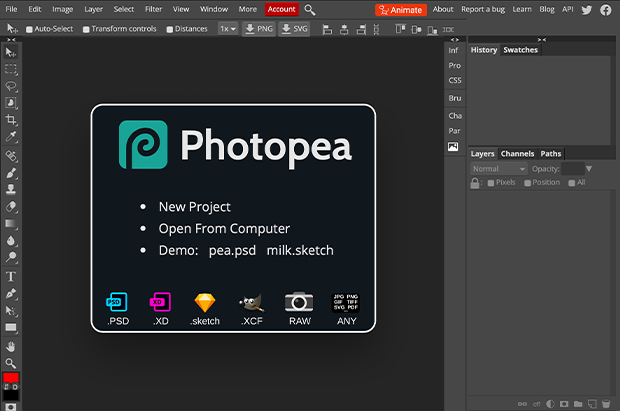
Photopea is a completely free, internet-based program with tons of editing capabilities. Actually, in many ways, Photopea is a carbon copy of Adobe’s Photoshop. While the drop-down menus are slightly different in organization, the program itself runs relatively similarly.
In fact, if you find a Photoshop tutorial for a photo editing effect you love, you can apply the same steps to your image in Photopea with a high success rate. Some things are harder to mimic, but overall you will get the grasp of editing images relatively quickly by using Photoshop tutorial steps in Photopea.
That also means you can test how well you’ll work with Photoshop before purchasing it by first working in Photopea. Like Photoshop, Photopea is a destructive, layer-based photo editing tool. It is rather efficient, and I find myself using it if I don’t have access to a computer with Photoshop. With Photopea, all you need is an internet connection!
If you spend the time getting to know Photopea, a future transition to Photoshop will be so much easier. And, even though this program is free, you don’t have to sacrifice much functionality over Photoshop.
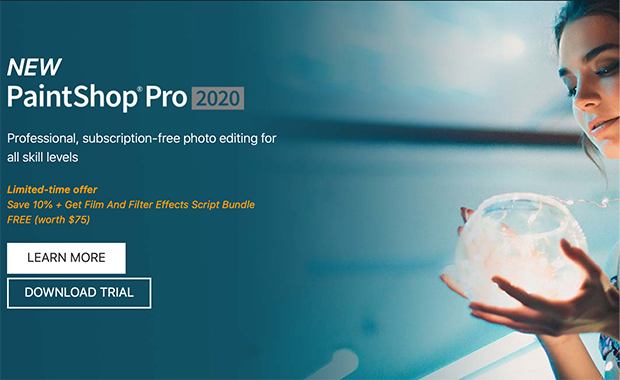
For the same price as Skylum Luminar 4, you could purchase Corel Paintshop Pro. The 2020 version of this photo editor boasts new content-aware editing technology, selection refinement and a touch-ready workspace.
Like Photoshop and its counterparts, Corel Paintshop Pro is a layer-based image editing software that supports plugins in addition to having its own built-in filters and effects. With Corel Paintshop Pro, you can retouch and restore your images with color correction and other features, draw and paint on them, batch process images from larger shoots and apply HDR effects. Corel Paintshop Pro is even great for turning your images into works of graphic design!
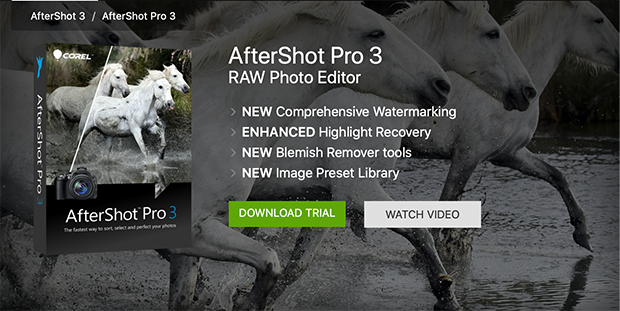
Also by Corel, AfterShot Pro is a raw photo editor that offers basic and more advanced photo editing options. AfterShot Pro allows you to add watermarks to your photos, which can protect them from online image theft. With AfterShot Pro, you can also remove blemishes, correct lens and white balance issues and apply plugins to achieve consistent edits across a series of images.
What we love most about AfterShot Pro for beginners is its ability to do multi-version editing. This allows you to edit multiple versions of your master photo without ever damaging the original image file. When you’re just starting to learn photo editing, you’ll want to experiment with different effects. With AfterShot Pro, you can easily create multiple edited versions while knowing your original image is safe from alterations.
GIMP is a longstanding popular and completely free image editing program. It is constantly being updated, and because of its longevity and rather large community, there is quite a bit of information about it out there. You’ll have no trouble finding tutorials for some of the less typical editing tasks for GIMP.
If you want software that is more stable and can be run on your computer, GIMP is definitely where you should look. It is also relatively intuitive, as editing programs go. So, if you’re completely new to photo editing software, GIMP won’t take that long to learn. Furthermore, GIMP is a great way to learn why editing in layers allows for flexibility and is the best editing practice.
GIMP has a lot of overlap with other editing programs, and a large community to boot, so it can easily be your choice software for photo editing for years to come.
We’ve laid a lot of information on you in this article, but hopefully you feel more prepared to make a decision on which of the best photo editing software for beginners is right for you. Remember, what’s most important is what type of photo edits you want to do and how willing you are to practice! Any of these programs have a learning curve, especially for those brand new to photo editing.
My final advice: choose one and stick with it. The more time you spend with your chosen photo editor, the better you’ll know how to make it work for you.
If you’re looking for even more photo editor options, try these articles:
Let us know in the comments which photo editor you plan on getting started with. And, for more photo editing advice and tutorials, follow us on Facebook and Twitter, or sign up for our email newsletter!
Envira Gallery helps photographers create beautiful photo and video galleries in just a few clicks so that they can showcase and sell their work.

Really great article. Thanks for taking the time to explain things in such great detail in a way that is easy to understand. Keep up the good work.
I just came across this article. You did such a thorough job of explaining things to consider when choosing photo editing software. So glad I came across this when I did my google search for best photo editing software for beginners!