Envira Gallery Blog
Digital Photography Tips, Tutorials and Resources
Digital Photography Tips, Tutorials and Resources

by Alex Coleman on Aug 30, 2019
Lightroom presets are a great tool for any photographer. Have you wanted to use presets but don’t know how to install Lightroom presets?
Presets can help create a unique look, while also allowing you to repeatably edit a group of images. There are many sources for presets available across the internet, including our list of top presets.
Whether you are using Adobe Lightroom Classic CC, an older copy of Lightroom 6, or the newest Lightroom CC, you can easily install presets with this guide. The basic steps include:
You can add presets to Lightroom. If you don’t have Lightroom, you can get it from Adobe’s site or as part of their Creative Cloud Plan.
While presets may be stored differently, based on how they were created, they are all stored as basic files. Typically, you’ll find presets on a website, like those linked in this list.
Some presets can be purchased, while others can be freely downloaded. Once you’ve gotten the link to the files, save them to your computer in a location you can remember, as you’ll need them later.
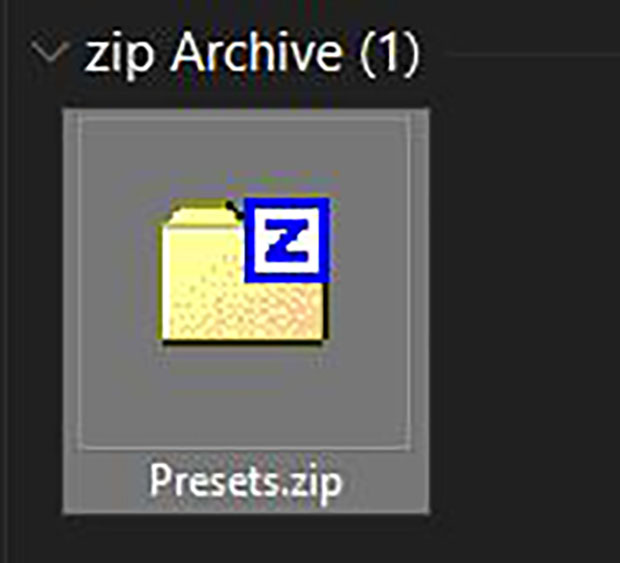
If the preset shows up as a .XMP or .LRTemplate file, you can skip to step #3. If you instead downloaded a Zip folder, you’ll need to unzip the files before you can use them.

OS X and Windows both contain a built in tool to unzip folders. You can unzip the folder by double clicking on it. With the folder open, drag the XMP or LRTemplate files to your desktop. This is an easy location to find later.
Depending on which version of Adobe Lightroom you are using, there are multiple ways to find your preset folder.
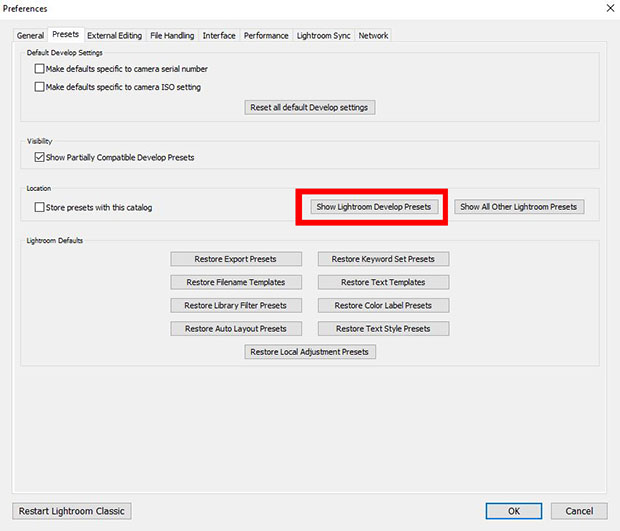
If you have Lightroom Classic CC, open your Preferences window by clicking on the Edit menu for PC or Lightroom menu for Mac. In the Preferences window, click on the Presets tab along the top of that window. In the Presets tab, click Show Lightroom Develop Presets.
If you have Lightroom Classic CC but haven’t updated recently, open your Preferences window by clicking on the Edit menu for PC or Lightroom menu for Mac. In the Preferences window, click on the Presets tab along the top of that window. In the Presets tab, click Show Lightroom Presets Folder.
If you have Lightroom CC, open the application and click on the editing panel. This panel is on the right side of the main window, indicated by 3 horizontal lines. From here, click on the presets panel at the bottom. Open the panel menu by clicking on the 3 horizontal dots at the top of the presets list, then click import presets.
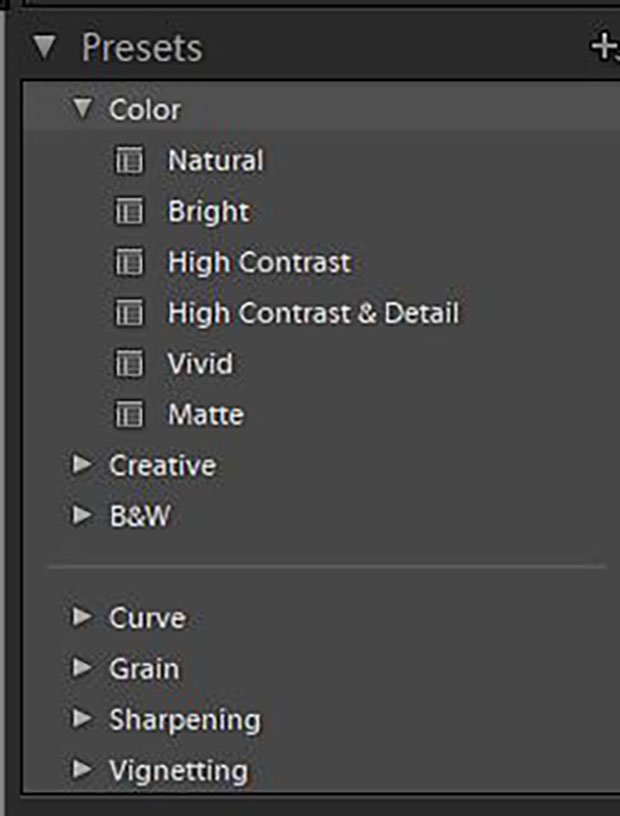
Once you’ve opened your preset folder, leave it open. This is where you’ll need to copy over your recently downloaded presets.

With the presets folder or menu open, you’re now ready to add your downloaded presets. Start by selecting the presets that you previously unzipped or downloaded, then drag them into the newly opened folder.
Make sure to restart Lightroom after adding the presets, as it may need to be reloaded for the presets to show up.
After restarting, open an image in the Develop panel and try out your newly installed presets. After they’ve installed, you can delete any of the leftover preset files, but I suggest you back them up, in case you want to reinstall them in the future.

Presets can be a great way to add an exciting new look to your images. While installing the files may seem tricky at first, you should have no problem when following the steps in this guide.
If you’re looking for more information about Lightroom, make sure to follow us on Facebook and Twitter.
Envira Gallery helps photographers create beautiful photo and video galleries in just a few clicks so that they can showcase and sell their work.